Helpscout Integration with Thunai
Overview
HelpScout is a customer support platform that allows businesses to manage and track conversations across multiple channels, providing an organized and efficient way to resolve customer queries.
By integrating HelpScout with Thunai, businesses can automate and streamline their customer support processes.
Thunai’s advanced AI capabilities enhance HelpScout by automatically generating tickets, syncing customer data, and ensuring real-time, seamless interactions between customers and support teams.
Features of HelpScout
- Automated Ticket Creation
- Mailbox Selection
- Ticket Lookup & Updates
- Custom Field Mapping
- Integration with Chat, Voice, and Email Agents
Step 1: Access the Thunai Application
- Log in to your Thunai account.
- In the left-hand menu, navigate to Integration → Applications.
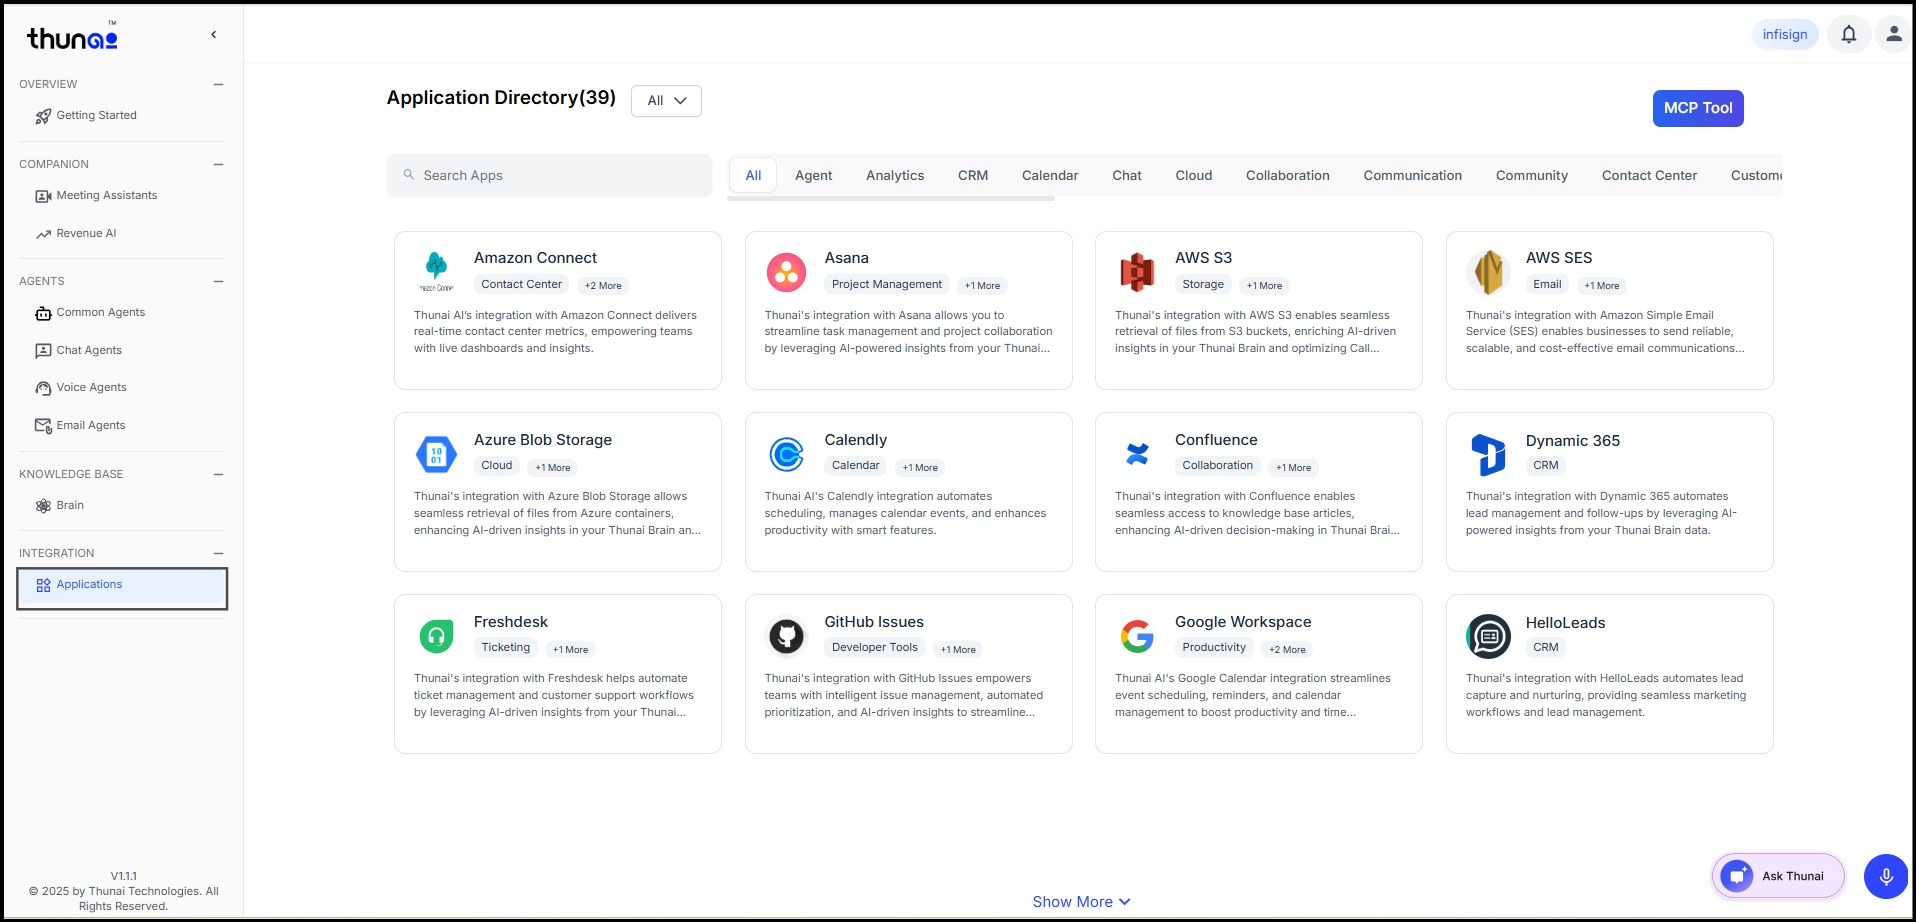
- Locate the HelpScout integration card in the list of available applications.
Step 2: Connection with Thunai
- Click the Connect button under the HelpScout integration.
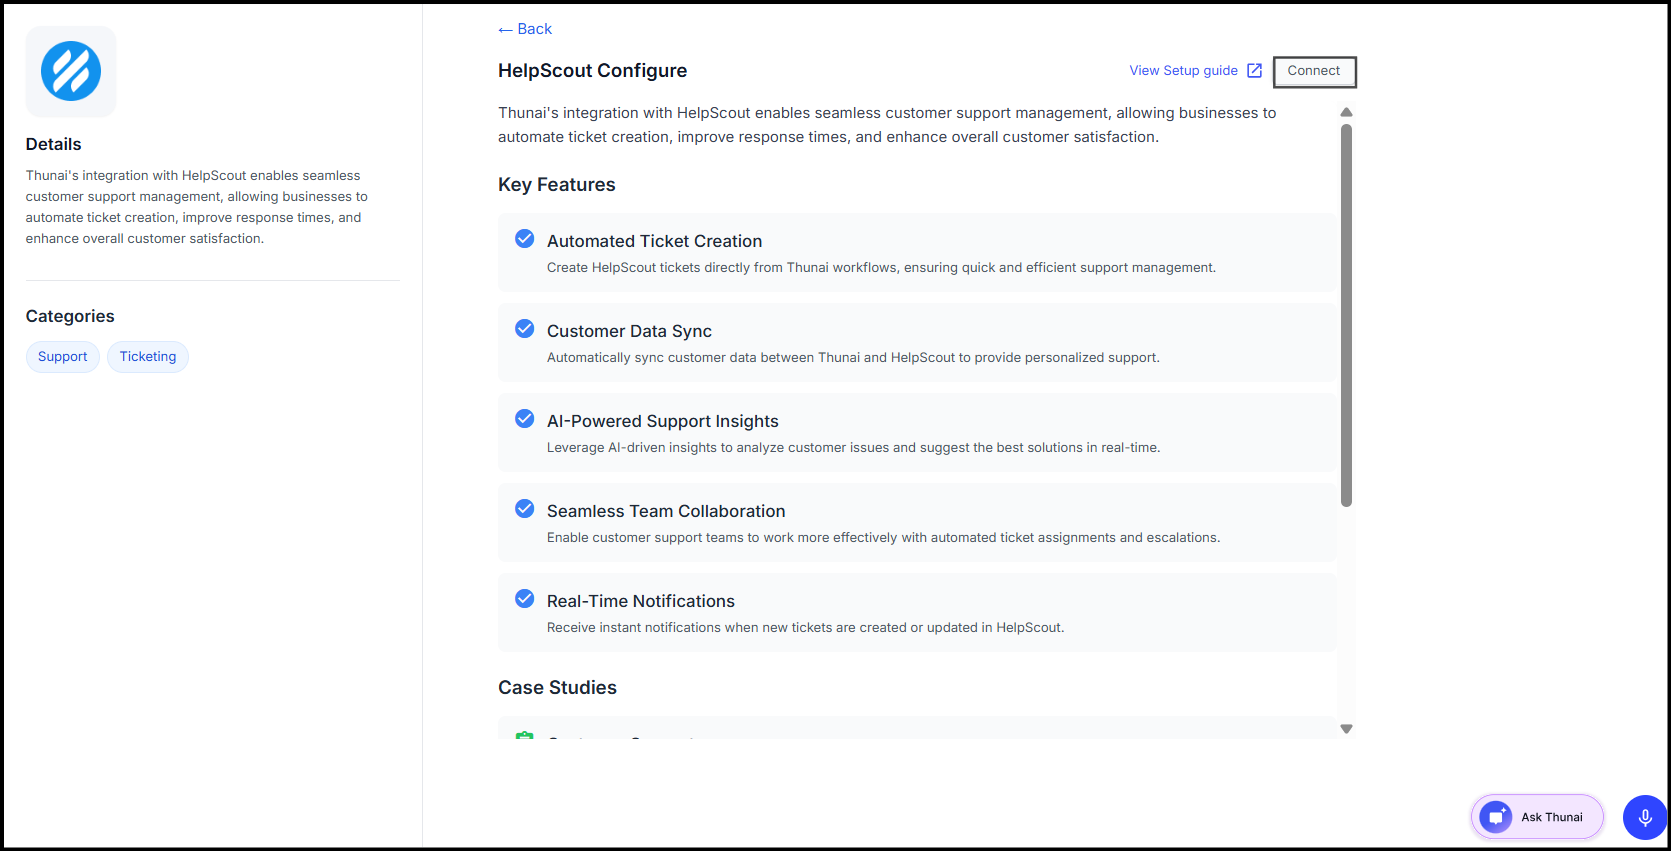
- You will be redirected to the official HelpScout authorization page.
- Log in to your HelpScout account (if not already logged in).
- Review the requested permissions and click Allow to connect HelpScout with Thunai.
- Upon successful authorization, you’ll be redirected back to Thunai, and the connection will be established securely via OAuth.
- Select the Mailbox where you want tickets to be created.
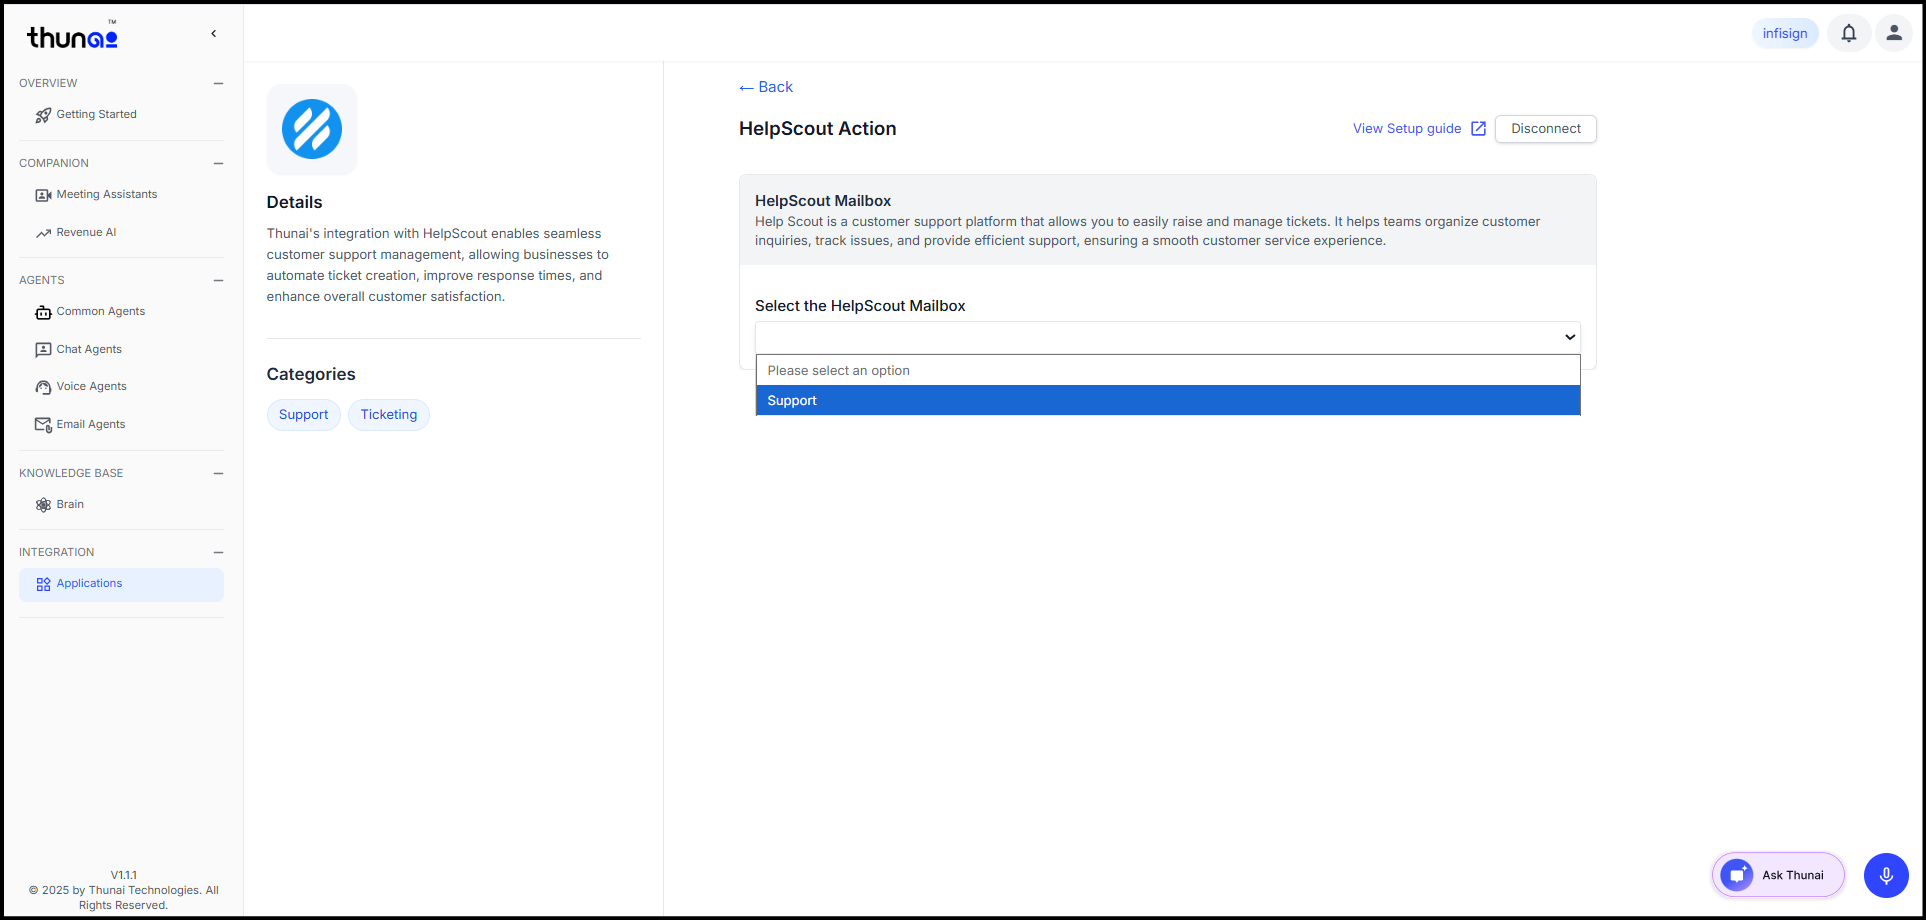
Click Save to confirm.
This completes the HelpScout integration setup in Thunai.
HelpScout MCP Tools in Thunai
Once connected, the following HelpScout MCP tools are available for automation and agent workflows.
These tools enable Thunai to interact with HelpScout APIs for ticket creation, checking, and synchronization.
| Tool Name | Purpose |
|---|---|
| createHelpscoutTicket | Create a new HelpScout ticket. |
| listHelpscoutMail | Retrieve all available HelpScout mailboxes. |
| checkHelpscoutTicketById | Fetch an existing ticket using Ticket ID. |
| checkHelpscoutTicketBySummary | Find existing tickets using a summary or subject. |
| getHelpscoutCustomFields | Retrieve all HelpScout custom fields for mapping. |
MCP Tool Descriptions
1. createHelpscoutTicket – Create a HelpScout Ticket
Purpose:
Automatically creates a new HelpScout ticket whenever a customer raises an issue through Thunai (Chat, Voice, or Email).
Usage Example:
When a user reports “Unable to login” in chat or via email, Thunai automatically creates a HelpScout ticket under the selected mailbox with details like customer name, issue summary, and priority.
2. listHelpscoutMail – List HelpScout Mails
Purpose:
Retrieves all mailboxes from HelpScout. This helps in routing tickets to the correct department (Support, Billing, Sales, etc.).
Usage Example:
During integration, Thunai fetches the list of mailboxes. When a new ticket is created, users can select “Support” or “Technical Support” as the mailbox.
3. checkHelpscoutTicketById – Check Existing Ticket by ID
Purpose:
Fetches detailed information about an existing HelpScout ticket using its Ticket ID. This helps users or AI agents check ticket status or updates instantly.
Usage Example:
A user asks, “What’s the status of my ticket #78921?”
Thunai retrieves ticket details such as status, assignee, and priority directly from HelpScout.
4. checkHelpscoutTicketBySummary – Check Existing Ticket by Summary
Purpose:
Searches for an existing ticket in HelpScout using a summary or subject line. This helps prevent duplicate ticket creation.
Usage Example:
If a customer says, “My payment failed again,” Thunai checks for any existing ticket with a similar subject (“Payment Failed”).
If found, it links the query to the existing ticket instead of creating a new one.
5. getHelpscoutCustomFields – Get HelpScout Custom Fields
Purpose
Fetches all custom fields configured in the HelpScout account to be mapped within Thunai workflows.
These fields allow advanced data collection such as category, priority, product type, etc.
Usage Example
During configuration, Thunai uses this tool to fetch all custom fields from HelpScout.
When a customer creates a ticket, Thunai prompts for mapped fields like Category or Priority and adds them to the ticket automatically.
Integration with Thunai Agents
HelpScout Ticketing integrates with Chat, Voice, and Email Agents in Thunai, allowing users to create, check, and manage tickets without leaving the agent interface.
Each agent leverages the above tools to automate its workflow.
1. Chat Agents
| Functionality | Tool Used | Description |
|---|---|---|
| Create New Tickets | createHelpscoutTicket |
Automatically creates tickets from chat conversations. |
| Link to Similar Tickets | checkHelpscoutTicketBySummary |
Searches for existing tickets before creating new ones. |
| Check Ticket Details | checkHelpscoutTicketById |
Fetches ticket details (status, tags, priority). |
| Select Mailbox | listHelpscoutMail |
Routes tickets to the appropriate HelpScout mailbox. |
| Custom Fields Capture | getHelpscoutCustomFields |
Captures additional information like product or priority. |
2. Voice Agents
| Functionality | Tool Used | Description |
|---|---|---|
| Create New Tickets | createHelpscoutTicket |
Create tickets directly through voice input. |
| Link to Similar Tickets | checkHelpscoutTicketBySummary |
Detects and links related issues. |
| Retrieve Ticket Info | checkHelpscoutTicketById |
Fetches details like assigned agent and status. |
| Select Mailbox | listHelpscoutMail |
Identifies the correct mailbox for each query. |
| Custom Field Capture | getHelpscoutCustomFields |
Prompts users to specify mapped field values by voice. |
3. Email Agents
| Functionality | Tool Used | Description |
|---|---|---|
| Create Tickets via Email | createHelpscoutTicket |
Generates tickets from structured email content. |
| Detect Similar Tickets | checkHelpscoutTicketBySummary |
Matches subject lines with existing HelpScout tickets. |
| Retrieve Ticket Info | checkHelpscoutTicketById |
Returns status and updates via email response. |
| Select Mailbox | listHelpscoutMail |
Determines the mailbox based on sender or subject. |
| Custom Field Capture | getHelpscoutCustomFields |
Extracts custom field values from the email body. |
Configuration
Step 1: Create & Configure Common Agents
- Set up Chat, Voice, or Email agents as per requirements.
- Assign relevant tools (like
createHelpscoutTicketorcheckHelpscoutTicketById) to the workflow.
👉 Learn how to create & configure agents
Step 2: Define Workflow & Map with HelpScout Ticketing
- Create workflows for:
- Ticket Creation
- Assignment
- Escalation
- Tagging
- Map these workflows with the HelpScout tools for a smooth ticket lifecycle.
👉 Learn how to create & configure agents
End-to-End Example Flow
- A customer reports an issue via Chat: “I can’t access my account.”
- Thunai checks for an existing ticket using
checkHelpscoutTicketBySummary. - If none found,
createHelpscoutTicketis triggered to log the issue. - Thunai fetches
getHelpscoutCustomFieldsfor mapped values (e.g., Category = Login, Priority = High). - The ticket is created in the selected mailbox from
listHelpscoutMail. - Later, the customer can track progress via
checkHelpscoutTicketById.
This ensures end-to-end ticket management directly through Thunai’s agents.
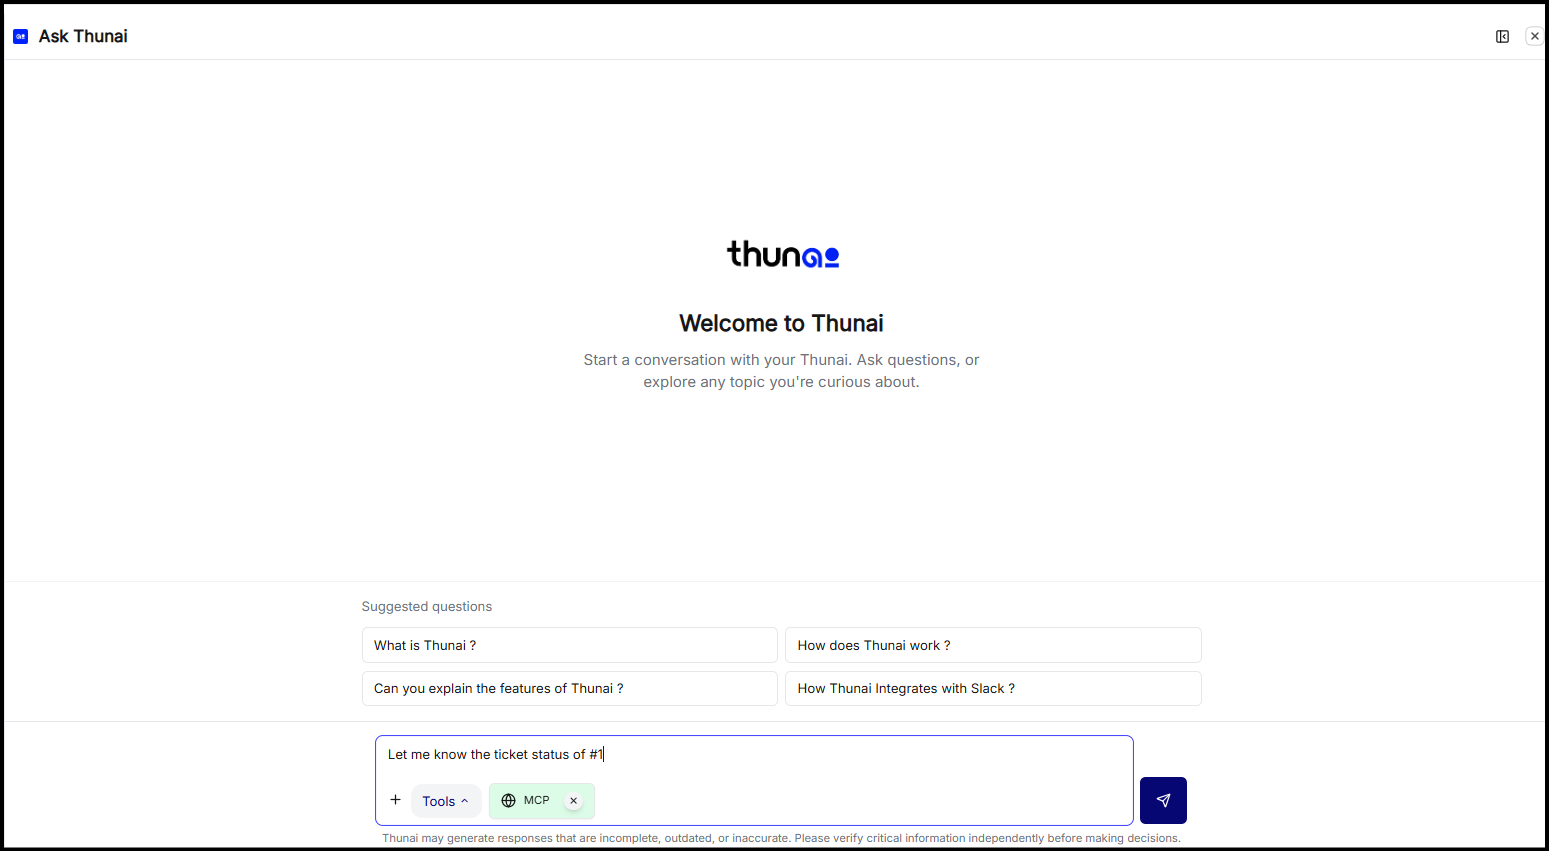
Using MCP Tools with Ask Thunai:
You can use MCP Tools in Ask Thunai by selecting the MCP option and executing tool actions directly (like creating or checking tickets).
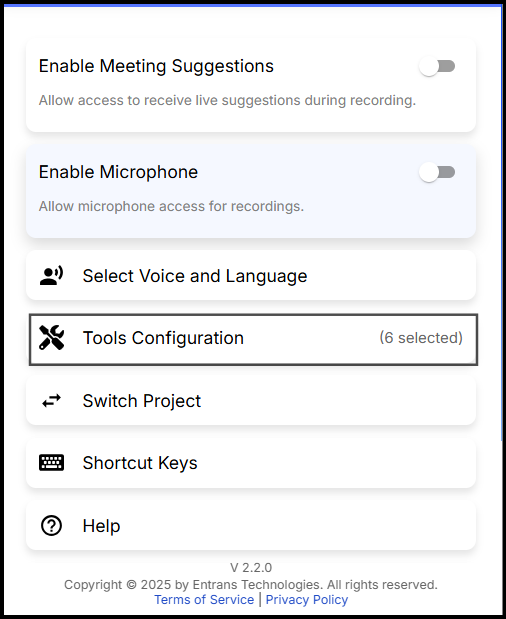
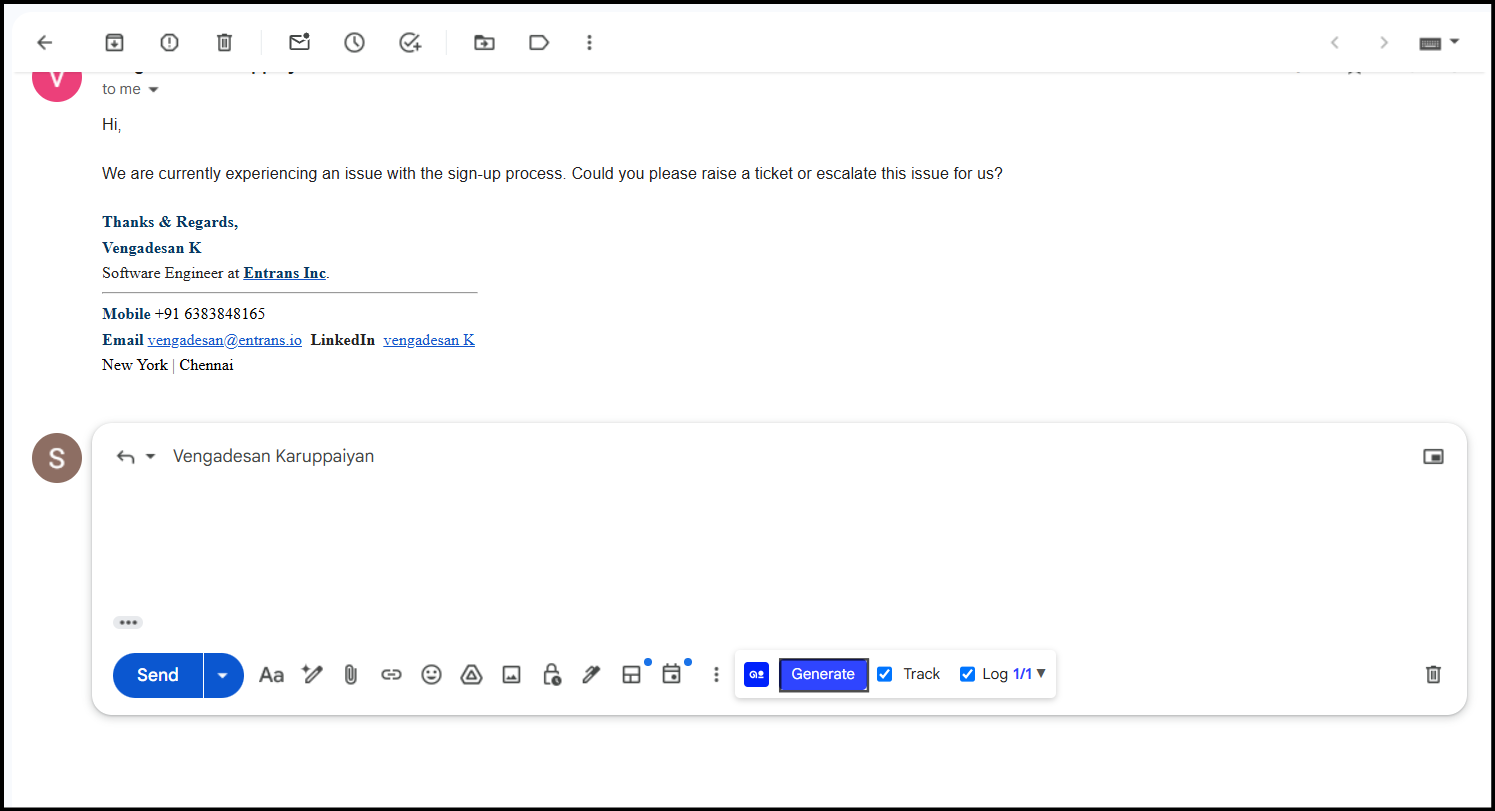
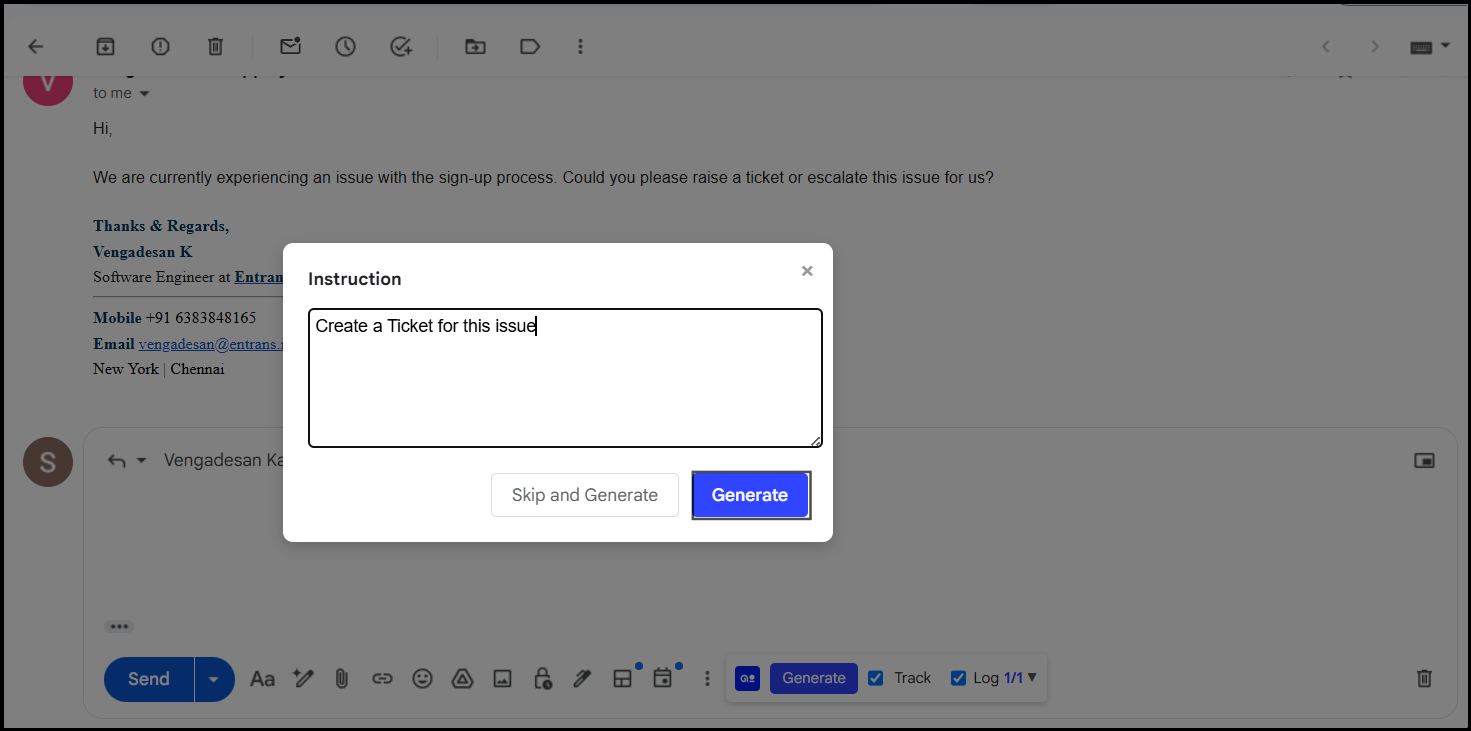
Using MCP Tools with Chrome extension:
In the Chrome Extension, you can also choose these tools and perform automated responses — for example, automatically creating or updating tickets from email details.

Benefits
✅ Centralized HelpScout management within Thunai.
✅ Automated, AI-driven ticket creation and tracking.
✅ Real-time updates and field synchronization.
✅ Seamless multi-channel support through Chat, Voice, and Email.
✅ Reduced manual effort and faster issue resolution.