Atlassian JIRA Integration with Thunai
Overview:
Atlassian Jira is a popular project management and issue tracking tool used by teams to plan, track, and manage software development, IT projects, and other workflows. The integration of Jira with Thunai allows seamless ticket creation and management, automating workflows and improving collaboration between teams. Thunai enhances Jira’s capabilities by automating the creation of tasks, issues, or tickets based on requests or activities, streamlining project management for teams.
Features:
- Automatic Ticket Creation
- Customizable Project Selection
- Jira Issue Tracking
- Simplified Workflow Management
- Secure API Integration
- Efficient Issue Management
Step 1: Log in to Thunai and Connect to Jira
- Open the Thunai application.
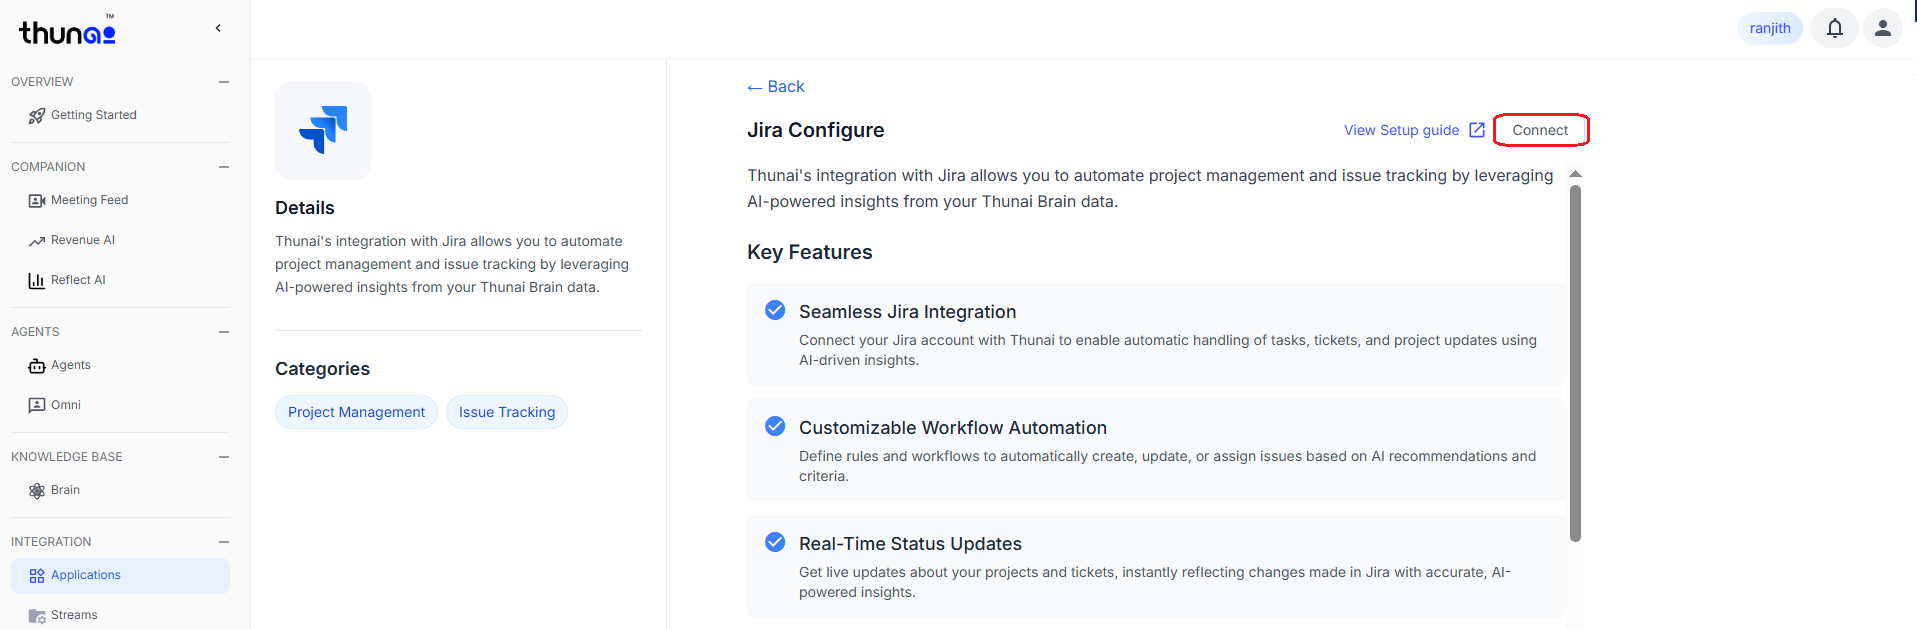
- In the menu, click on the application and then select the "Jira" option.
- Click the "Connect" button.
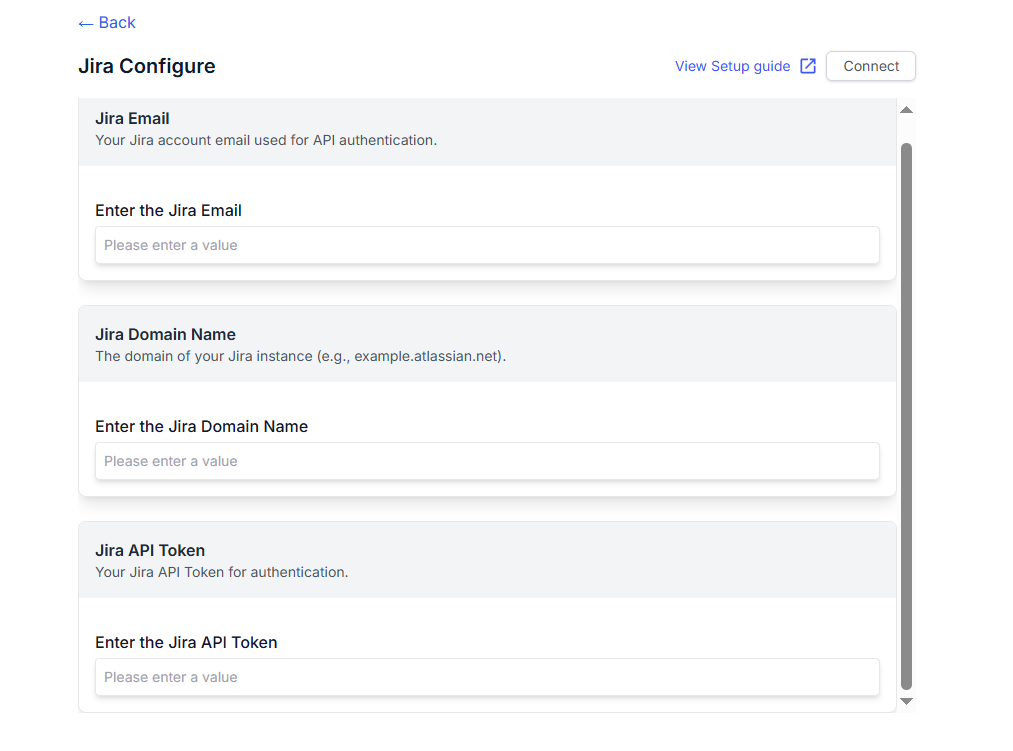
- Enter the following details:
- Email ID: Enter the email address associated with your Jira account.
- Domain Name: Enter your Jira domain (e.g., your-company.atlassian.net).
- API Token: Use the API token generated from your Jira user profile under the Security settings. (Follow Step 2 to get the API token)
- After filling in the details, click the "Submit" button.
- Once submitted, go back to the "Jira" section.
- You will see a dropdown for Sub Projects (your Jira projects). Select the project where Thunai should create the tickets.
- Click "Save" to finalize the setup.
Step 2: Create an API Token in Jira
- Log in to your Jira account.
- Navigate to Account Settings > Security > API Tokens.

- Click on "Create API Token".
- Provide a label for the token (e.g., "Thunai Integration").

- Click "Create" to generate the token.
- Copy the generated token and paste it in Step 1 of the Thunai integration setup.

Step 3: Test the Integration
- Return to the Thunai application and verify the integration with Jira.
- Once connected, Thunai will be able to create tickets in the selected Jira project when new requests are made.
Important Notes:
- Ensure the API token you generate in Jira has sufficient permissions to create and manage issues within the selected project.
- If you encounter any issues, double-check the details entered in both Jira and Thunai (email ID, domain name, API token, and webhook settings).
Integration with Agents
Jira can be integrated with Chat, Voice, and Email Agents to streamline issue tracking and project management. This integration allows users to create, update, and monitor Jira issues directly from agents without switching platforms.
Supported Agents & Features
1. Chat Agents
- Create New Issues – Log new issues (bugs, tasks, stories, epics) from the chat interface.
- Link to Similar Issues – Detect and connect to existing related issues.
- Check Issue Details – View issue status, priority, assignee, and other details directly.
- Update Issue Details – Modify existing issue details (status, fields, comments) from chat.
- Custom Fields Support – Map Jira custom fields. Agents will collect these values during issue creation.
- Authorization (Optional) – Enable OTP verification or other security checks before allowing users to create or view issues.
2. Voice Agents
- Create New Issues – Create Jira issues using voice commands.
- Link to Similar Issues – Identify and link related issues automatically.
- Check Issue Details – Retrieve issue details such as status, priority, and assigned user via voice responses.
- Update Issue Details – Update issue fields and details using voice prompts.
- Custom Fields Support – Capture mapped custom field values through guided voice input.
- Authorization (Optional) – Secure actions with OTP or voice authentication.
3. Email Agents
- Create New Issues – Open issues by sending structured emails.
- Link to Similar Issues – Automatically link new issues to similar or existing ones.
- Check Issue Details – Get issue details (status, assignee, priority) via email response.
- Update Issue Details – Update Jira issues by sending formatted email instructions.
- Custom Fields Support – Collect and map custom field values from email content.
- Authorization (Optional) – Add OTP or email-based authentication before allowing issue operations.
Configuration
- Create & Configure Common Agents
- Set up Chat, Voice, or Email agents according to your requirement.
👉 Learn how to create & configure agents
- Set Workflow & Map with Jira
- Configure workflows (issue creation, assignment, transitions) to align with your project needs.
- Map workflows with the Jira application for seamless issue management.
👉 Learn more about workflows here
Once configured, users can manage Jira issues end-to-end via Chat, Voice, or Email agents, improving team productivity and project visibility.