Asana Setup with Thunai
Overview
With Thunai, you can seamlessly integrate chat, voice, and email agents with Asana to manage projects, create tickets, and access enhanced features using the agents.
Use Cases
- Use chat, voice, and email agents to interact with Asana projects.
- Create and manage tickets within Asana directly through Thunai.
- Leverage agent features to streamline project workflows and communication.
Step 1: Login Into Thunai & Connect Asana
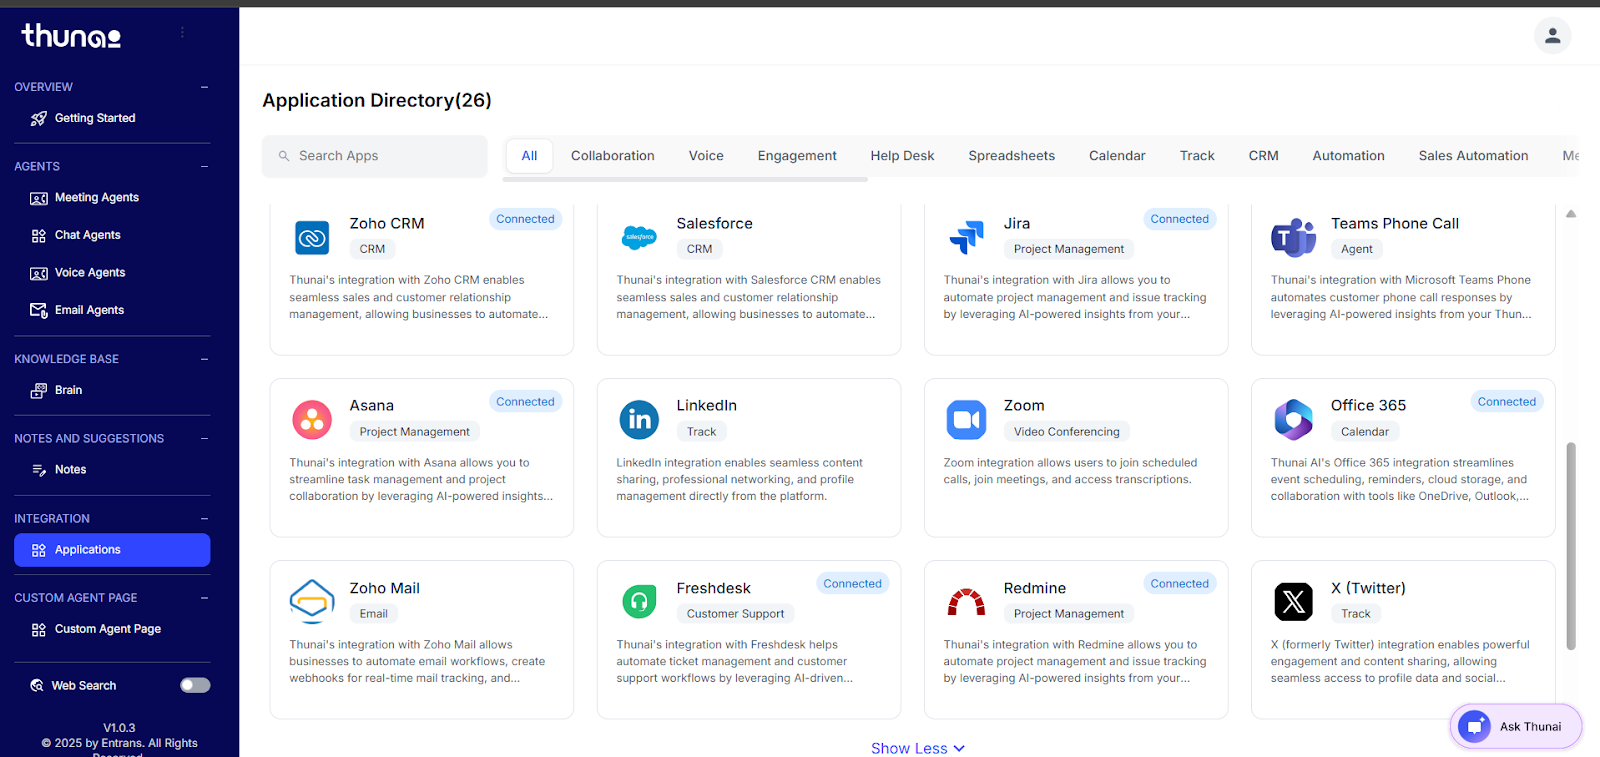
- Open the Thunai application.
- Click on Asana from the integrations menu.
- Click the Connect button next to Asana to start the connection process.
Step 2: Retrieve Your Asana API Key
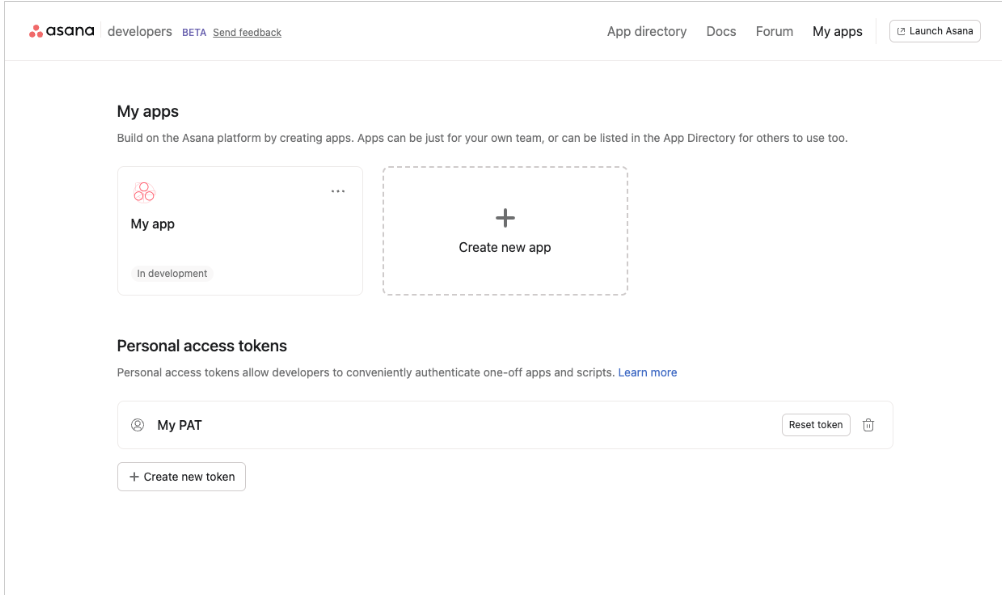
- Log in to your Asana developer account at https://app.asana.com/0/my-apps.
- Click Create New Token.
- Enter an app name for identification (e.g., “Thunai Integration”).
- Click Create Token and then Copy API Key.
- Paste this API Key into the API Key field in Thunai (from Step 1).
Step 3: Configure Thunai with Asana
- In the Thunai form that appears after pasting the API Key:
- Select the Workspace associated with your Asana account.
- Select the Project you want to connect.
- Click Configure to complete the setup.
