Hubspot integration with Thunai
Overview
This integration enables seamless synchronization of contacts, meeting participants, call notes, and leads, empowering sales and support teams with AI-driven automation for enhanced customer relationship management (CRM) and streamlined workflows.
Key Features
Importing contacts from Hubspot to Thunai
Pushing meeting participants to Hubspot
Sending call notes to Hubspot
Automatic Lead generation and pushing to Hubspot
Step 1: Login to Thunai
- Open the Thunai application.
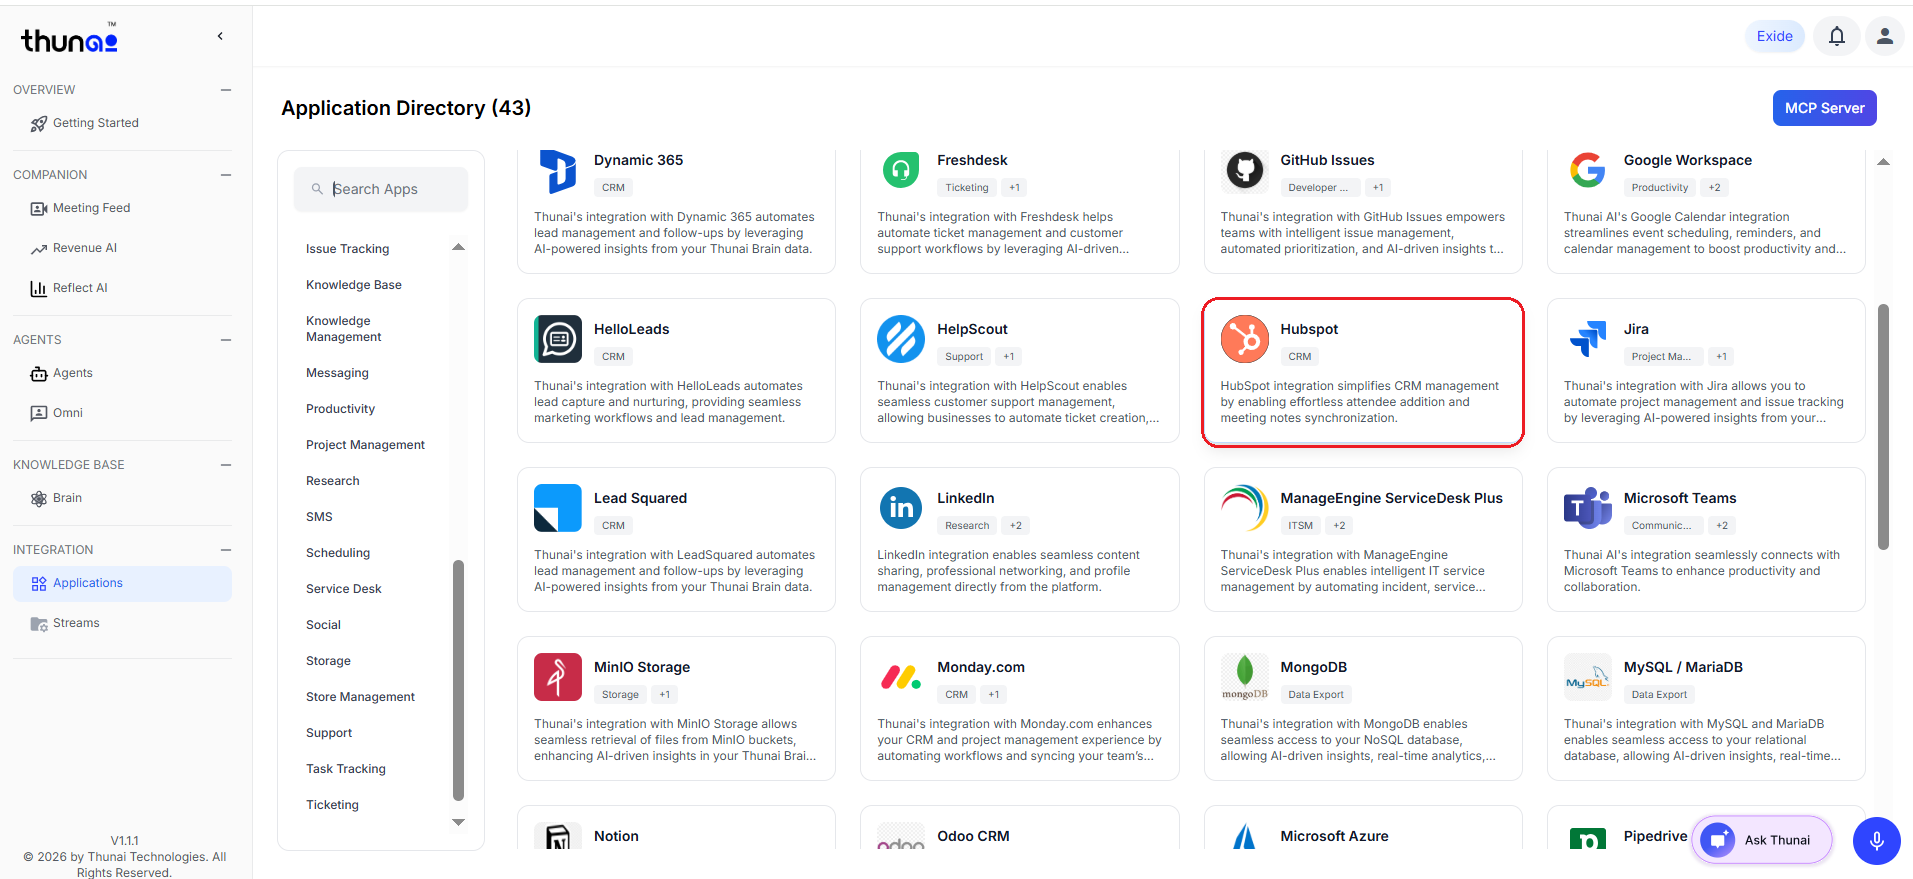
- Navigate to the "HubSpot" section.
- Click on the "Connect" button to begin the integration.

Step 2:
It displays the HubSpot-registered email ID associated with your organization.


Step 4: Verify your email account and click "Continue" to proceed.

Step 5: Select your organization's account from the options displayed and click "Choose Account" to proceed.


Step 7: In Call Agents, you will see your organization's HubSpot-linked members listed under Participants on the right side. You also have the option to add new contacts.

Step 8: Click on the HubSpot logo (if you want to add a new contact), select CRM Name as HubSpot, verify the Contact Name, Organization Name, and Email ID, then click "Sync" to complete the process.

Step 9: A pop-up message "Success! Contact added successfully" will appear on your screen.

Integration with Agents
HubSpot can be integrated with Chat, Voice, and Email Agents to streamline CRM operations. With this integration, agents can create new contacts, fetch details, add notes, and retrieve notes history directly from HubSpot without switching platforms.
Supported Agents & Features
1. Chat Agents
- Contact Creation – Create new HubSpot contacts through the chat interface.
- Get Contact Details – View details like name, email, phone number, and company directly in chat.
- Add Notes to Existing Contacts – Attach notes or updates to HubSpot contacts.
- Get Notes Details – Retrieve and display notes history for any contact.
- Authorization (Optional Security Layer) – Add OTP verification or other methods before allowing contact or notes access.
2. Voice Agents
- Contact Creation – Create HubSpot contacts using voice commands.
- Get Contact Details – Access contact information instantly through voice interactions.
- Add Notes to Existing Contacts – Record and attach notes to HubSpot contacts.
- Get Notes Details – Listen to or fetch notes history for contacts.
- Authorization (Optional Security Layer) – Secure actions with OTP or voice authentication.
3. Email Agents
- Contact Creation – Add new HubSpot contacts via email instructions.
- Get Contact Details – Fetch contact details through email-based queries.
- Add Notes to Existing Contacts – Send notes via email to be stored in HubSpot contacts.
- Get Notes Details – Retrieve notes history from HubSpot through email.
- Authorization (Optional Security Layer) – Use OTP or email verification before confirming CRM actions.
Configuration
- Create & Configure Common Agents
- Set up Chat, Voice, or Email agents as per CRM requirements.
👉 Learn how to create & configure agents
- Set Workflow & Map with HubSpot
- Define workflows for contact creation, details retrieval, and notes handling.
- Map workflows with HubSpot to ensure seamless CRM operations.
👉 Learn more about workflows here
Once configured, HubSpot can be managed directly via Chat, Voice, or Email Agents, with the option to include an additional security layer for safe and controlled CRM access.